The start of the Pulp Bath; cotton linters and water blended together to create the pulp mixture. This is the first step in the process. Only putting a handful of torn cotton linter into the blender with the water so the blender doesn't break!

Blending the cotton linter and water.


Blanket and dampened cloth to lay the paper on to, the blanket is to soak up the excess water and the cloth is dampened so that the paper pulp will stick to the cloth when you hang it to dry.

Getting started, once the prep is complete we got going. Andy demonstrates the technique. Putting the frame with mesh in the middle into the pulp bath steadily and gather an even amount of the pulp paper. Make sure the pulp is well mixed and swirled before putting the frame in. Lift up the mesh frame to reveal the gathered pulp on the mesh and let drip for a moment.

Like sooo...

Then he lay the frame on to the cloth and blanket, using a sponge to soak up the excess water from the pulp and mesh. Dabbing carefully and squeezing out the sponge.

Andy also showed the process using a frame without mesh in over the top of the mesh frame, keeps it neat! When I did it myself I found that this really helped me!

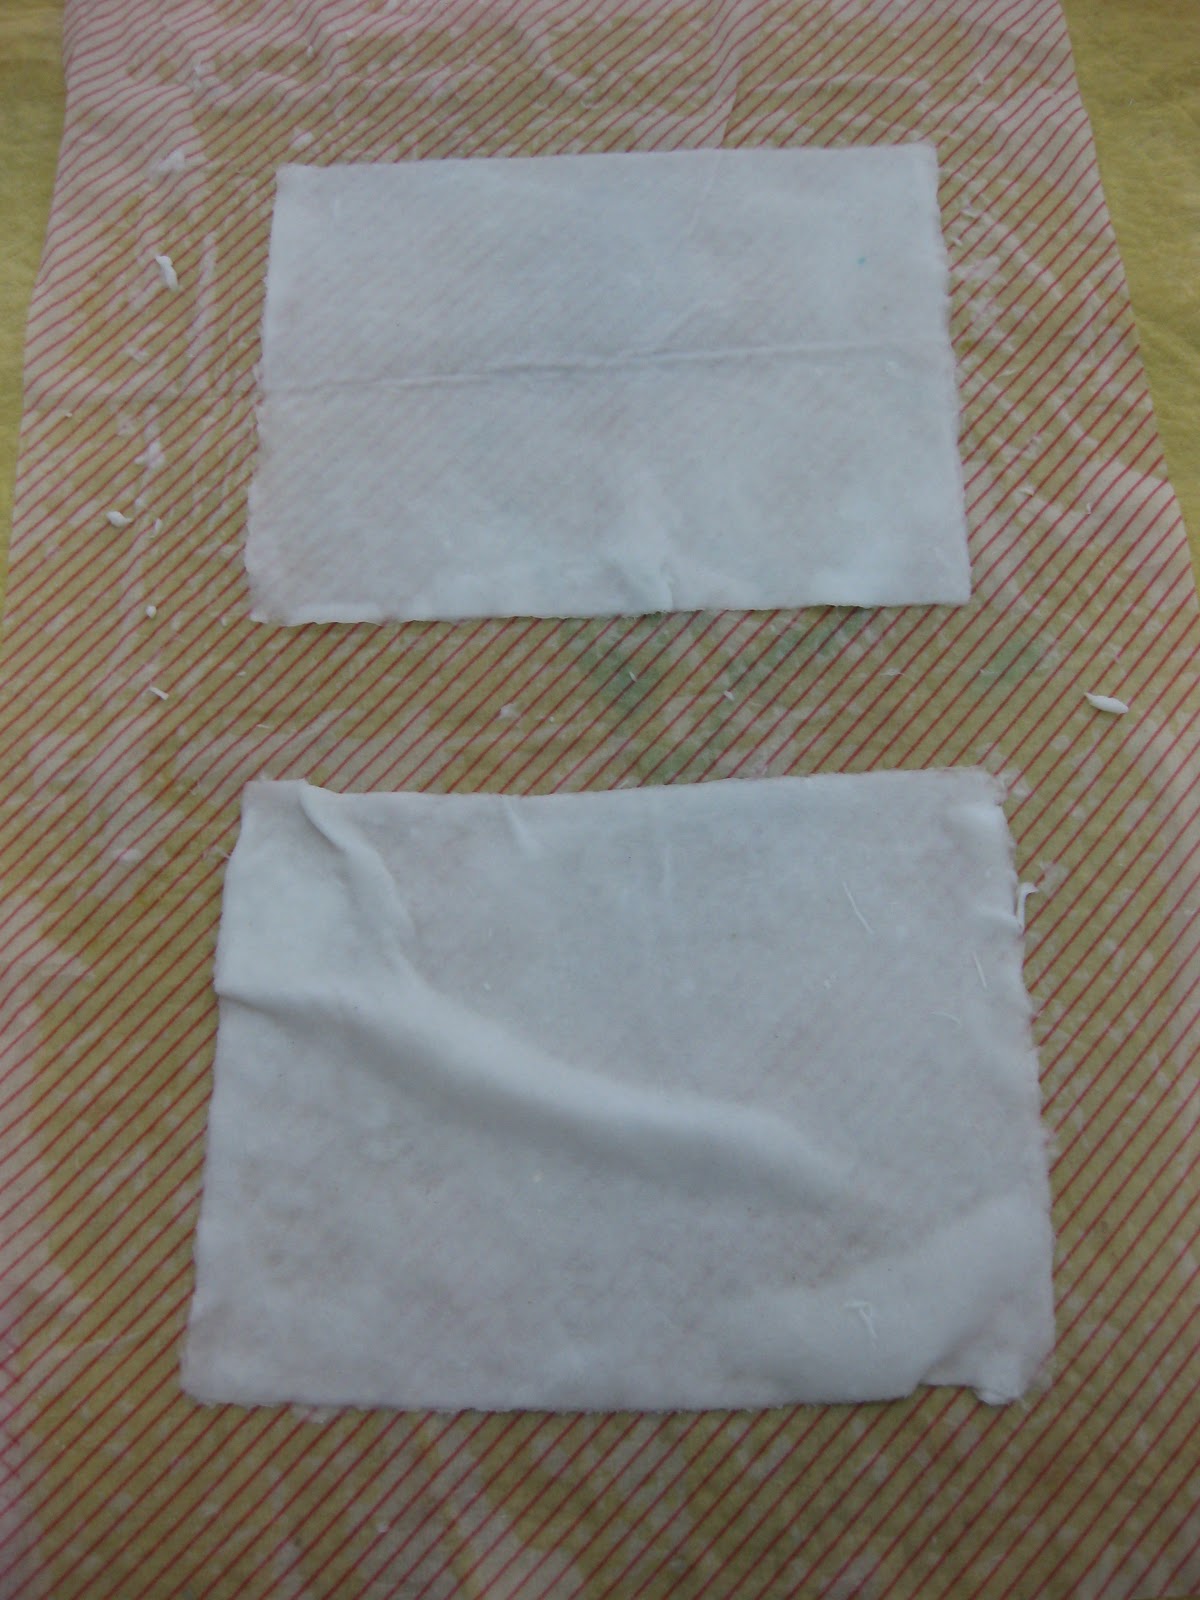
So here is my first attempt, a bit patchy and uneven. Not very usable paper! But it was my first attempt, practice makes perfect...

Second attempt, much better result! A tiny bit of unevenness on the bottom left but an overall better attempt. I found it easier with the bigger frame actually.

Sponging off the excess water. Instead of dabbing I wiped the sponge along the mesh to pick up the excess and it made the pulp start coming through the mesh, not what I wanted! Dabbing carefully is the way. I think this is why my first attempt didn't go so well.

This is really bad, I just didn't get enough pulp or a even amount on to the mesh. I find the smaller frame more difficult to use than the bigger frame for some reason.

Second attempt at the small piece, second attempt at the bigger piece and yet again the bigger one comes out better! Happy with that, but need to get the hang of the small frame!

Another really bad attempt... What am I doing wrong? At this point I filled up the pulp and water mixture slightly, it was running a bit low. I need to take my time with the small frame.

Another attempt, dabbing carefully this time!

My last attempt came out better! Still creased and uneven though, this is something I need to practice more tomorrow. Really enjoying the process though and really excited to play around more when I get the hang of the technique. I need to get to know how to handle the material and have patience. The texture of the paper is so organic, looking forward to putting more fibres and materials into the pulp to see what I can create. Feeling excited and already seeing improvements in the paper, need to perfect tomorrow!
Hanging to dry...


Heres me putting some stringy bits onto the wet paper and layering another piece on top of it as an experiment. I imagine it will dry to quite a thick and textured density.

Andy showed me this example of paper making, simply wrapping up an object in cling film and using the same process, only placing the wet pulp onto the object to create the shape and leave to dry overnight. I want to try this!


Here is another example of paper being put over an object which I really like! The pieces fit together like a jigsaw. The texture is really lovely and I was surprised at how strong the paper is!


- Practice basic paper making skills some more, if I get the chance, add some fibre and materials to the pulp, try different colours.
- Think about what objects I could use to cover with paper pulp, what would work?
- Mug making using clay!
No comments:
Post a Comment